
Creating Trading Rules and Watchlists
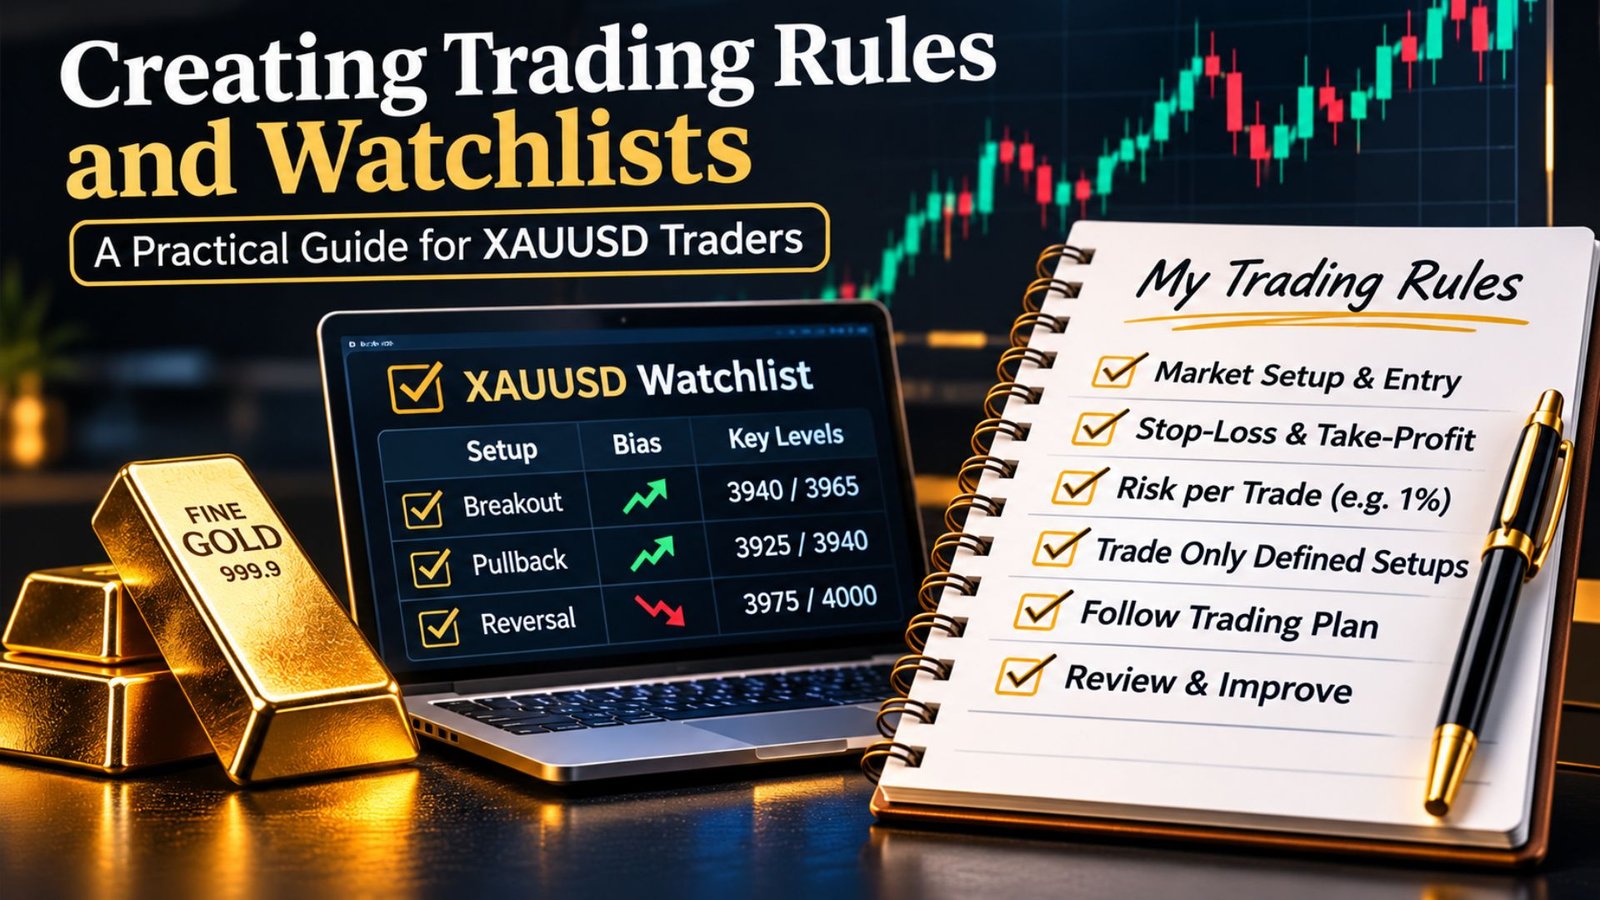
Creating Trading Rules and Watchlists
A trader can identify a promising gold setup and still make a poor decision. The problem is often not a lack of indicators, but a lack of written rules: what qualifies as a trade, what invalidates it, and when it is better to stay out. A watchlist turns those rules into a practical routine by identifying the markets, price levels, and events that deserve attention before the session begins.
This guide shows how to build a repeatable rulebook and an actionable XAUUSD watchlist. The examples use a 4H, 1H, and 15M workflow, but the principles can be adapted to other styles. All prices and account figures below are illustrative, not live signals or performance forecasts.
1. What Trading Rules Must Accomplish
A trading rule is a condition that leads to a defined action. “Buy gold when it looks strong” is an opinion. “Consider a long trade only when the 1H trend is rising, a 15M candle closes above a marked resistance level, and a subsequent retest holds” is a testable rule. The second statement can be followed, documented, and reviewed.
Useful rules cover the entire decision, not merely the entry. They answer five questions: What market can I trade? What evidence must appear? How much can I lose? What ends the trade? What makes me stand aside? A complete set of answers reduces the temptation to improvise after price starts moving.
Three qualities of a strong rule
- Observable: it relies on something visible, such as a candle close, level, or scheduled event.
- Specific: it explains the action and its timing rather than saying “use discretion.”
- Reviewable: another trader could inspect the chart and decide whether you followed it.
Rules are not predictions. A valid setup can lose, and an invalid trade can win by chance. Their purpose is to make your process consistent enough to evaluate over many decisions.
2. Define Your Market, Timeframes, and Session
Begin with a narrow trading universe. If you mainly trade XAUUSD, that can be your primary watchlist instrument. You do not need to monitor ten unrelated symbols simply to feel busy. Instead, record the context that matters to your gold decision: the dollar, major economic announcements, nearby technical levels, and whether the market is trending or ranging.
| Layer | Purpose | Example observation |
|---|---|---|
| 4H chart | Higher-timeframe structure | Higher highs and higher lows, or a broad range |
| 1H chart | Trading direction and decision levels | Resistance being tested repeatedly |
| 15M chart | Entry confirmation and invalidation | Close, retest, rejection, or failed breakout |
| Economic calendar | Event risk | Upcoming central-bank decision or US inflation data |
Choose the hours you can actually monitor. For example, a trader might trade only during a selected portion of London or New York hours. The precise window is a personal operating choice, not a guarantee of better results. Write the start and end times in your own time zone, and specify whether new positions may be opened near the end of that window.
Also define the maximum number of simultaneous positions and whether you allow overnight holding. A rulebook that assumes constant screen access is unsuitable for someone who can check charts only occasionally.
3. Turn a Setup Into Objective Entry Conditions
Pick one or two patterns you understand. For a breakout-and-retest approach, describe each stage separately: the level, the breakout, the retest, and the trigger. A level should be marked before the trade, rather than drawn afterward to justify an entry.
Example: a conditional long setup
- The 4H structure supports an upward bias, or the plan explicitly permits countertrend trades.
- A 1H resistance zone has been identified before the entry.
- A 15M candle closes above the zone; a brief wick alone does not qualify.
- Price returns to test the area and shows a predefined holding signal.
- The stop can be placed beyond a logical invalidation point, with acceptable risk and sufficient room to the next obstacle.
Write the equivalent short setup separately. Do not assume that every upward rule can be mirrored mechanically: a volatile selloff, for example, may have different liquidity and execution characteristics. Test each pattern as its own hypothesis.
Decide how you handle a breakout that never retests. If your plan requires a retest, missing the move is a correct outcome. Chasing a candle after it has traveled far from the planned level changes both the entry price and the original risk calculation.
4. Write Risk, Position Size, and Exit Rules
Risk rules should be settled before the market tests your emotions. Define a maximum planned loss per trade, a daily stop condition, and whether correlated positions count toward the same exposure limit. These limits are personal safeguards, not universal numbers.
Suppose a hypothetical account contains $10,000 and the trader chooses to risk 0.5% on a setup. The planned cash risk is $50. If the chart-based stop is $5 per ounce away, the position size must be calculated using the broker’s contract size and tick-value specifications. On a contract where one lot represents 100 ounces, a $5 move corresponds to $500 per lot before costs; a 0.10-lot position would therefore have about $50 of price-movement risk. Contract specifications vary, and slippage, spreads, commissions, and currency conversion can change the actual result.
Write exits as carefully as entries
- Invalidation: identify the price behavior that proves the original idea wrong.
- Initial stop: set the stop based on invalidation, then size the trade to fit the risk budget.
- Profit management: specify a target, trailing method, or partial-exit rule before entry.
- Time-based exit: decide what happens if price stalls or your monitoring session ends.
- Daily stop: state the loss or rule-violation threshold that ends trading for the day.
A stop order does not guarantee execution at the requested price in fast markets. Leverage may reduce required margin while increasing the size of exposure you can take; it does not reduce the underlying price risk. Never widen a stop simply to avoid realizing a planned loss.
5. Build a Watchlist That Leads to Decisions
A watchlist should be a short decision board, not a collection of symbols and arrows. For each instrument, record what matters now and the exact condition that would move it from “monitor” to “eligible.” The best watchlist often includes a clear no-trade scenario.
| Watchlist field | What to enter |
|---|---|
| Instrument | XAUUSD and any deliberately monitored context markets |
| Higher-timeframe bias | Bullish, bearish, or neutral, with one sentence of evidence |
| Decision zone | Pre-marked support or resistance area |
| Trigger | Exact candle-close, retest, or rejection condition |
| Invalidation | Level or behavior that cancels the setup |
| Next obstacle | Nearby opposing level that may limit reward |
| Event risk | Scheduled announcements and your avoidance window |
| Status | Observe, ready, triggered, invalid, or completed |
Keep the status labels consistent. “Observe” means the context is interesting but the setup is incomplete. “Ready” means the level and risk plan are established. “Triggered” means all entry conditions have occurred. “Invalid” means the setup no longer qualifies, even if price later moves in the expected direction.
6. Worked XAUUSD Watchlist Example
Consider an illustrative session in which gold trades near $3,000. The 4H chart is making higher lows, while the 1H chart shows repeated tests of a resistance zone around $3,008–$3,012. A nearby opposing level sits around $3,028. These are invented teaching levels, not current market prices.
| Item | Illustrative plan |
|---|---|
| Bias | Conditionally bullish while the 4H structure holds |
| Watch zone | $3,008–$3,012 resistance |
| Long trigger | 15M close above zone, followed by a valid retest |
| Invalidation | Retest fails and price closes back below the defined holding area |
| Reward check | Assess room to the next obstacle near $3,028 after costs |
| No-trade rule | No retest, inadequate reward room, or event window too close |
Now imagine the breakout candle closes at $3,018 and price never returns to the zone. Under a retest-only rulebook, there is no trade. Alternatively, imagine price retests but the logical stop is so far away that the potential reward to the next resistance is unattractive. Again, there is no trade. Both decisions demonstrate a functioning plan.
If the setup triggers, the watchlist entry becomes a trade record: timestamp, entry rationale, planned stop, calculated size, expected reward, and screenshot. Do not rewrite the original watchlist after the outcome; preserving what you knew beforehand is essential for an honest review.
7. Handle News, Volatility, and Changing Conditions
Gold can respond sharply to shifts in interest-rate expectations, the US dollar, geopolitical developments, and economic releases. A technically attractive setup can become difficult to execute when spreads widen or price gaps through a planned level. A watchlist should therefore include an event check before any order is placed.
Choose a rule for scheduled high-impact events: for example, do not open a new trade during a predefined interval around selected releases. The interval is a risk-control choice that you should evaluate for your broker and strategy, not a fixed rule that suits everyone. Check the calendar again before entry because an earlier watchlist may be stale.
Also decide what invalidates the entire day’s directional bias. If a major support level fails and the 4H market structure changes, your morning bullish label may no longer be useful. Updating a watchlist is not the same as changing an open trade’s stop to avoid a loss; keep those decisions separate.
8. Use a Pre-Trade Decision Checklist
A checklist works best when every answer is yes, no, or not applicable. Avoid questions such as “Do I feel confident?” that can be answered differently depending on your mood.
Copyable XAUUSD pre-trade checklist
- Am I inside my approved trading session?
- Have I checked the relevant economic calendar?
- Is the higher-timeframe bias recorded with evidence?
- Was the decision zone marked before the trigger?
- Did the precise entry pattern complete?
- Is the stop located at a logical invalidation point?
- Does position size fit the cash-risk limit, including likely costs?
- Is there adequate room before the next opposing level?
- Have I checked existing exposure and daily loss limits?
- Can I explain the setup in two sentences without changing any rules?
One failed mandatory condition means “stand aside.” You can distinguish mandatory rules from optional quality filters, but do so before testing. Otherwise a checklist can become a way to justify whichever trade you already want to take.
9. Review and Improve Your Rules Without Overfitting
At the end of each session, compare actual decisions with the original watchlist. Did you trade a marked level or invent a new one mid-session? Did you follow the entry trigger? Was the position size correct? Did you respect the no-trade conditions? Record process errors even when the trade made money.
Use a weekly review to group trades by setup, session, and market condition. Look at outcomes after costs, average win and loss, maximum adverse movement, and adherence to your written rules. A single winning or losing day is weak evidence for changing a strategy.
Change one rule at a time
If your breakout rule produces many failed signals, you might test a stricter close condition or a different retest definition. Write the proposed change, explain why it might help, and test it on data not used to invent it. Altering several conditions at once makes it difficult to understand what caused any improvement.
Keep versions of your rulebook with dates. A small change such as “wait for a 15M close” can materially affect the number and timing of trades. Versioning prevents you from mixing results from different strategies and calling them one track record.
10. Frequently Asked Questions
How many instruments should a beginner put on a watchlist?
Start with as few as you can monitor carefully. One instrument such as XAUUSD can be sufficient while learning to document setups and manage risk. Add others only when you can maintain the same preparation quality.
Should I change my watchlist during the trading day?
Yes, when new information invalidates a setup or changes market context. Record the reason and time of the update. Do not retroactively edit the original conditions to make a missed or losing trade appear valid.
Can an indicator be part of a trading rule?
Yes. Define the indicator’s settings, timeframe, and exact signal. Treat it as one input within a broader plan rather than assuming an indicator reading predicts the next move.
What if my watchlist has no valid trades for several days?
That can be normal. A selective strategy is allowed to produce no entries. Review whether the rules are practical over a meaningful sample, but do not loosen them simply because you feel pressure to trade.
Do trading rules eliminate losses?
No. They organize decisions and make risk measurable. Market gaps, slippage, changing conditions, and incorrect assumptions can still cause losses, including losses larger than planned.
Sources & Further Reading
- CME Group — Building a Trade Plan: educational guidance on structuring a trading process.
- World Gold Council — Gold as a Strategic Asset: background on gold’s market characteristics and portfolio role.
- CFTC — Futures Market Basics: background on futures-market mechanics and risk.